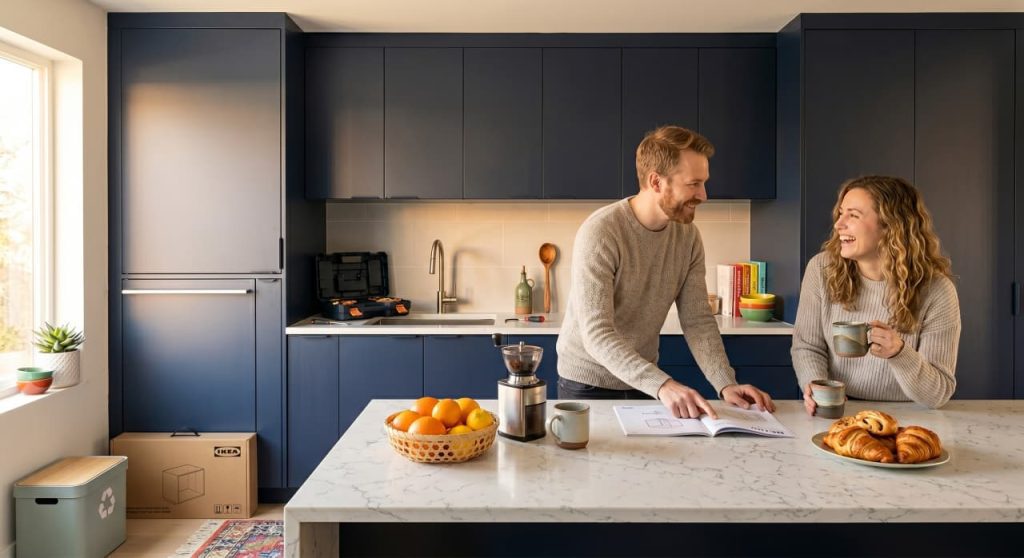
But while buying an IKEA kitchen renovation package is relatively straightforward, executing a successful flat pack kitchen installation is a completely different story.
Over my years overseeing home remodels, I’ve seen countless IKEA kitchens installed poorly. It rarely happens because the products themselves are bad; rather, it’s because the installation wasn’t properly planned or executed. The thin line between a kitchen that looks beautifully custom-built and one that screams “cheap flatpack” almost always comes down to a handful of small, professional details.
If you are currently mapping out a brand-new layout, be sure to browse our full kitchen renovation hub for more step-by-step inspiration. In the meantime, here are my top 10 insider installation tips to help you achieve a high-end, professional result.
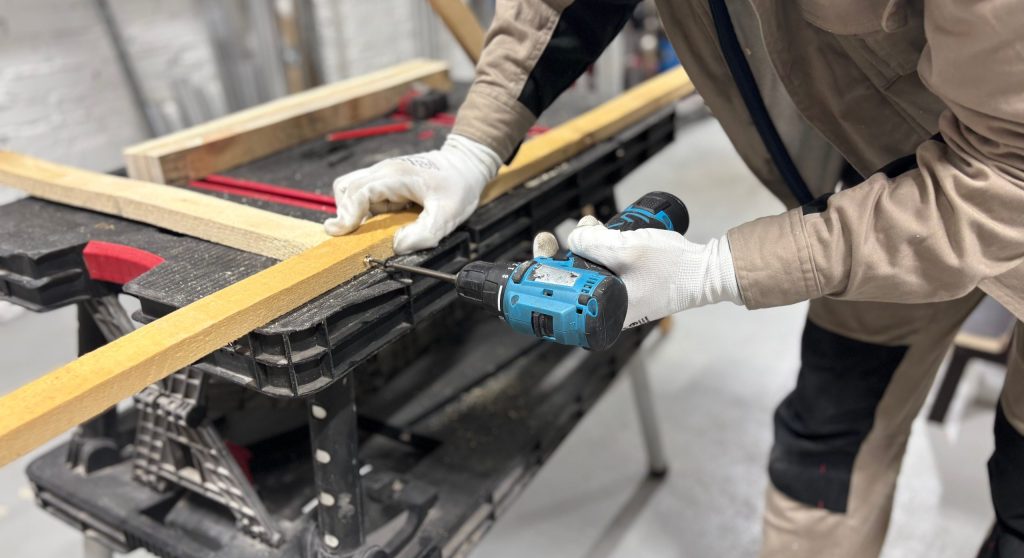
1. Hire an Experienced Flatpack Installer, Not Just a General Builder
2. Understand That IKEA Cabinets Are Not Standard Sizes
One of the biggest surprises for first-time buyers is discovering that IKEA cabinet sizes don’t always align with standard Australian kitchen dimensions.
IKEA works within its own European modular sizing system. While this design provides incredible configuration flexibility, it also means your existing room dimensions may not line up perfectly with the available cabinet widths.
Before finalizing your layout, ensure you thoroughly understand the available flatpack cabinet sizes and design around them. Trying to force a layout to fit your preconceptions rather than working within IKEA’s structural matrix often results in awkward gaps and unnecessary compromises.
3. Design the Kitchen Layout to Minimise Fillers
Fillers are the blank timber panels used to bridge the small, leftover gaps between your cabinets and the walls.
While a small filler panel here and there is perfectly normal to allow doors to clear architraves, kitchens featuring massive filler panels or multiple wide fillers instantly look like an afterthought.
A great DIY kitchen remodel design aims to minimize fillers by strategically selecting cabinet widths and shifting the layout during the initial drawing phase. Spending an extra hour refining your configuration during the project planning stage can save you from staring at ugly, oversized filler panels for the next decade.
4. Move Beyond the Generic All-White Kitchen
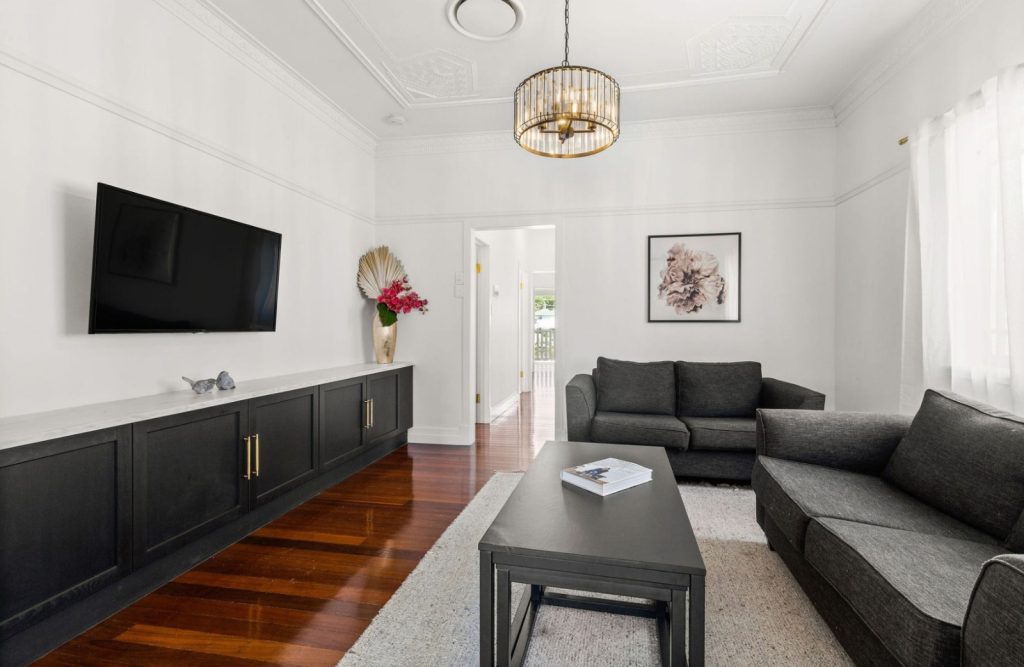
For years, white gloss cabinetry dominated the home renovation landscape. While there is nothing inherently wrong with a classic white kitchen, modern design trends have shifted significantly toward richer, more textured spaces.
Incorporating timber finishes, muted greens, warm greys, matte black surfaces, and textured cabinetry creates a far more premium, bespoke feel. These contemporary finishes photograph beautifully, look high-end, and can significantly boost your property’s value in a competitive real estate market.
If you are renovating specifically for capital growth or resale, take a look at our curated kitchen design trends and ideas to see what buyers are looking for in display homes today, rather than repeating what was popular ten years ago.
5. Close the Shadow Line Dishwasher Gap
This minor detail separates amateur installations from seasoned pros. In most standard IKEA kitchen setups, there is a highly visible, awkward gap left between the top of the dishwasher and the underside of the benchtop. Once you notice it, it’s impossible to unsee.
The professional solution is simple: have your installer fit a neat filler strip or a color-matched cover panel directly above the dishwasher. It is an incredibly low-cost addition, but it creates a sleek, integrated look that instantly elevates the overall quality of the cabinetry.
6. Properly Adjust the Premium Blum Hardware
One of the absolute best hidden features of an IKEA kitchen is the quality of its internal mechanisms. IKEA utilizes Blum hinges and drawer runners—a brand widely regarded by custom cabinet makers as some of the best hardware in the industry.
However, premium hardware only delivers a premium finish if it is tuned properly. Once the flatpack kitchen installation is structurally complete, the doors and drawer fronts must be meticulously adjusted. Small tweaks to the Blum hinge settings can dramatically improve vertical alignment, fix uneven reveal lines, and ensure smooth soft-close functionality. (If you are tackling any part of this installation yourself, we’ve listed some essential assembly tools on our recommended products page).
7. Take Overhead Cabinets to the Ceiling (or Build a Bulkhead)
Nothing makes a kitchen remodel feel unfinished quite like an empty, dead space above your overhead cabinets. Not only does this area become a notorious dust-trap, but it also visually cuts the room in half, making your ceilings feel lower and the space smaller.
Whenever your ceiling height allows, extend your overhead cabinetry all the way to the top. If your ceilings are too high for standard cabinet heights, have your carpenter construct a plastered bulkhead above the cabinets to create a seamless transition to the ceiling. This design choice visually lengthens the room and mimics the appearance of expensive custom joinery.
8. If You’re Installing an Integrated Dishwasher, Buy the IKEA Version
Integrated appliances are fantastic for creating a seamless, high-end aesthetic, but appliance compatibility is a common trap.
While it is technically possible to integrate third-party dishwashers into an IKEA cabinet setup, doing so almost always requires complex custom modifications, specialized sliding hinges, or hacking the door fronts. Conversely, an IKEA integrated dishwasher is engineered precisely to fit their proprietary dimensions and hinge heights, making the installation incredibly straightforward and reducing the risk of mechanical binding down the road.
9. Consider the IKEA Integrated Fridge for Smaller Properties
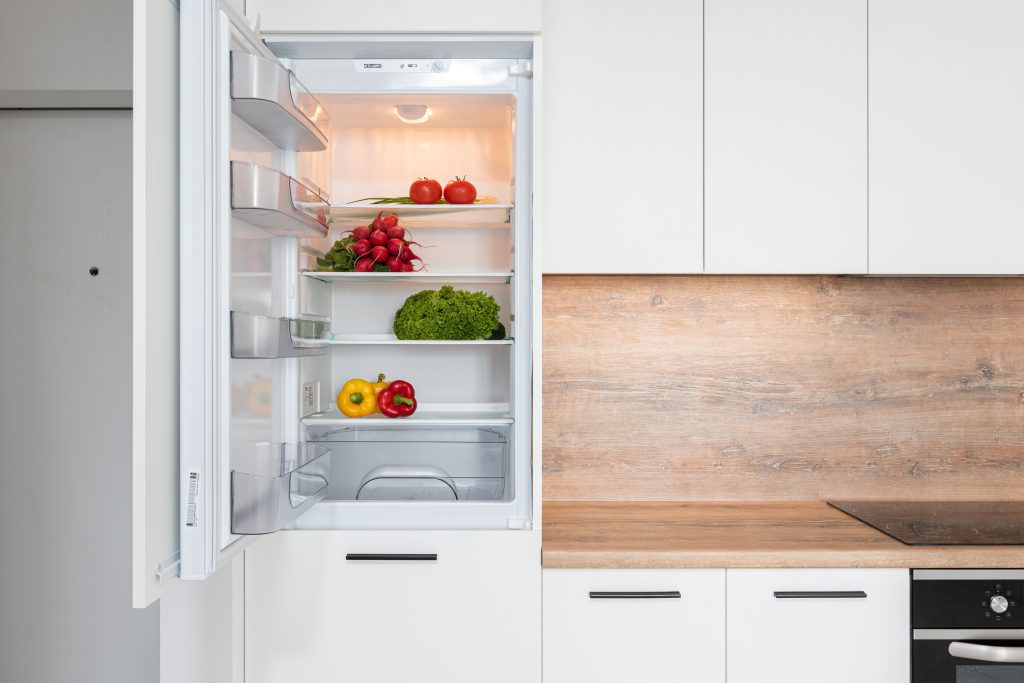
For compact footprints—like townhouses, apartments, or small downsizer homes—an IKEA integrated fridge can be an incredibly cost-effective way to achieve a streamlined, uninterrupted wall of cabinetry.
However, you must tailor your appliance selection to your property type. A smaller integrated fridge works beautifully in a limited space where layout optimization is key, but it may penalize you in a large family home. Large families require significant refrigeration capacity, and forcing a small integrated unit into a five-bedroom house can be a major detractor for future buyers. Always align your appliance choices with your target buyer profile.
10. Check Stock Availability Long Before Demolition Day
This final renovation planning tip can save you weeks of severe stress. Never assume that every single item on your final IKEA kitchen plan will be sitting on the warehouse shelves when you click order.
IKEA supply chains fluctuate constantly, particularly for popular door profiles, cover panels, integrated corner pull-outs, and specific appliances. Before you finalize your trades, book your demolition dates, or have a stonemason out to measure your benchtops, verify that every critical component is physically secure or delivered. A single missing 60cm cabinet or specialized panel can completely stall your trade schedule and delay your entire project.
Final Thoughts
An IKEA kitchen can deliver outstanding value and look every bit as beautiful as a high-end custom kitchen—provided you respect the installation process.
Achieving a premium result isn’t about spending thousands more on materials; it’s about meticulous design planning, understanding the unique parameters of the flatpack system, and executing the fine details perfectly. Take the extra time to refine your layout, minimize unsightly fillers, hire specialized installers, and carefully adjust your hardware. Do that, and most guests will never guess your bespoke kitchen started its life in a flatpack box.